Skip to content

Posts tagged ‘Video’

Hiking in the Dolomites, Part 6

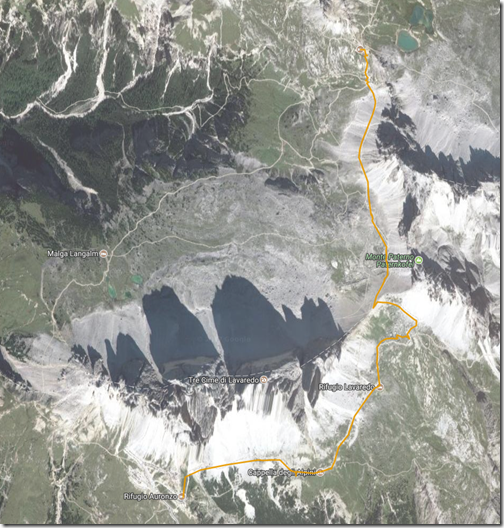
The Tre Cime de Lavaredo are the three mountain peaks that are the highlight of the Tre Cime Natural Park.  (In German, they are called Drei Zinnen.)  From the end of the road at Rifugio Auronzo, we began our three mile hike around Tre Cime to Rifugio Locatelli.  The hike took us up to 8000 feet, to a saddle between Tre Cime and the nearby Monte Paterno (Paternkofel), where we had lunch.  The trail descended from the pass back down a few hundred feet, before ascending again to Locatelli, back at 8000 feet elevation.  Temperatures were in the 50’s, and it was somewhat windy.

TreCimeHike

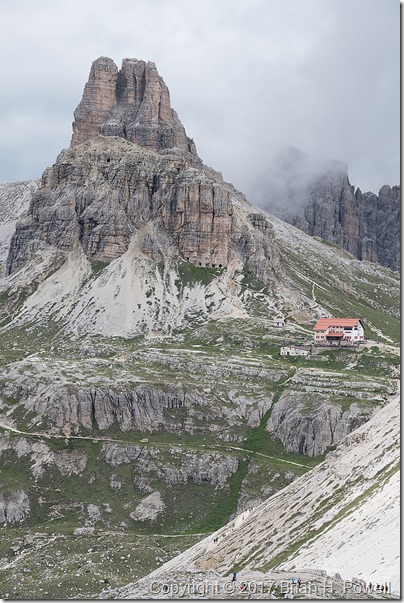
Shown below, the Locatelli hut, with the Torre di Toblin behind it.

(Click any image to enlarge.)

_DSF1594

On the side of the Monte Paterno, we saw some climbers on a Via Ferrata (Italian for “Iron Road”).  These are hiking and climbing routes that have a cable, fixed to the rock every few meters.  You wear a harness with two carabiners.  As you reach one of the iron stays in the rock, you unclip one carabiner and reattach it to the cable on the other side of the stay, then follow with the other carabiner.  Thus, you are always attached to the cable.

Many of the Via Ferrata in the Dolomites are left from World War I.  The Dolomites were a major battleground in the war between Austria-Hungary and Italy.

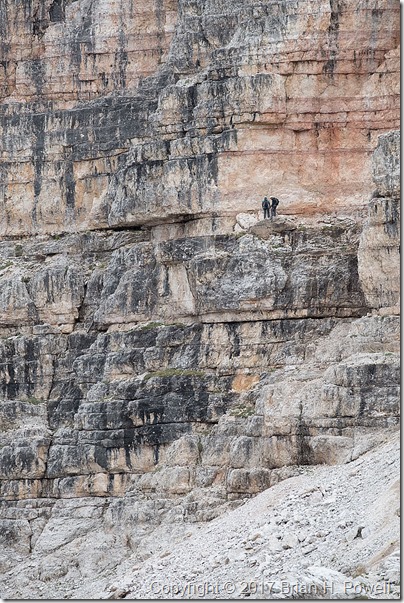
In the photo below, you see a couple of people on a fairly flat, easy section of Via Ferrata on Monte Paterno.

_DSF1602

We continued on to the Locatelli hut.  This is a much larger hut than the Resciesa hut we stayed in earlier—I’d guess they have room for over 100 people.  But note that they only have one shower, and it costs €5 to use it for six minutes.  (None of our group bothered with a shower that night.)

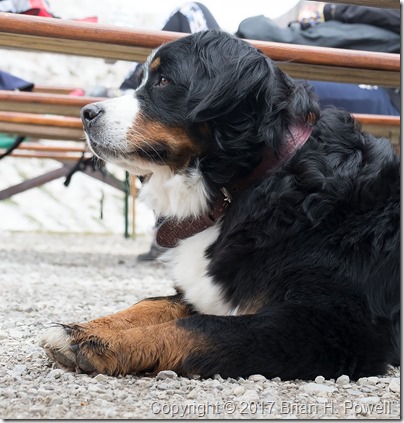
Many dayhikers come for lunch or dinner in the cafe.  Along with a lot of people, we saw a few dogs of all sizes on the trail.  Here’s a photo of a beautiful Bernese Mountain Dog.

_DSF1613

That night, the barometric pressure began to rise, and we set our alarms in hopes of clear skies for night photography.  We got started a little bit late, so this turned into a bit of night photography combined with pre-dawn photography.  Here’s a time-lapse sequence showing the transition from night to twilight.

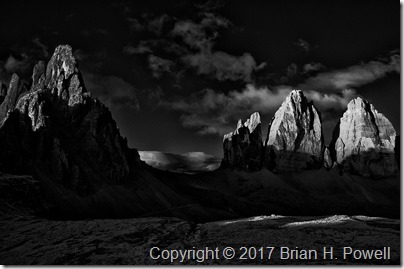
We returned to bed for an hour of sleep before heading out for sunrise.  Here’s one of my favorite infrared images of the dawn light hitting Monte Paterno and the Tre Cime.

_DSC6473

We returned again to bed for another hour of sleep before breakfast, and then began our hike back to Rifugio Auronzo, where we waited for our taxi that would take us to Cortina.

_DSF1803

Up next, Cortina and Venice.
Hiking in the Dolomites, Part 4

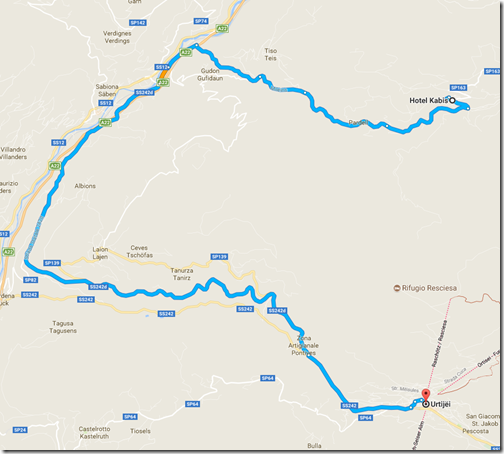
The next day—June 29 if you’re keeping score—we took a taxi down to the ski village of Ortisei.  We spent a little time walking around the town and enjoying time at a cafe near the Hotel Adler before taking a funicular up into the mountains.

ToOrtisei

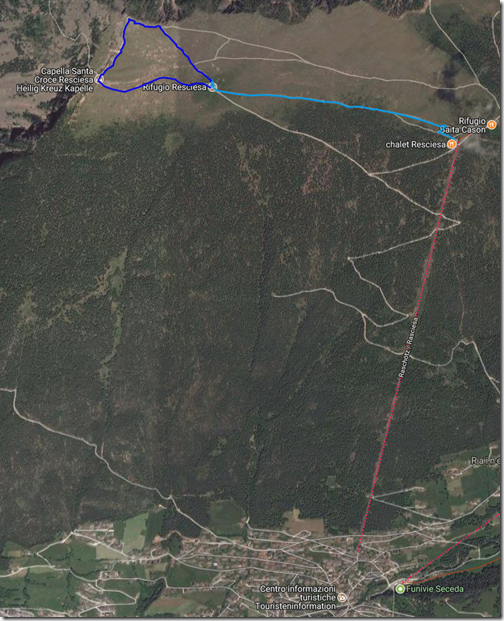
From the top of the funicular, it’s about a mile traverse (light blue route below) over to Rifugio Resciesa, where we’d stay for the evening.  Unfortunately, I fell ill with intestinal pain that afternoon, so once I got to the hut, I just rested.  As I look for a silver lining to being sick, the afternoon views were hampered by a whole lot of clouds.  My body chose a good time to demand rest.

The Resciesa hut is one of many different mountain huts scattered all over the Alps.  It’s a combination bar/restaurant and guest house.  The Resciesa hut is one of the smaller huts, with room for about 40 people.  We had a room of bunk beds for all eight of us.  Some rooms are larger; some smaller.  There were two showers and two bathrooms shared for everyone at the hut.  I was pretty pleased with the experience, and people who had been at other Alpine huts agreed that this was among the nicer ones.

Resciesa

The next morning, the weather and my health had both improved.  I decided to hike the approximately one-mile loop from the hut, to the peak, and then over to a small chapel.  (This is the darker blue route on the map above.)  The temperatures were in the 50’s and windy.  I’d typically wear three to five layers of clothes to maintain comfort.

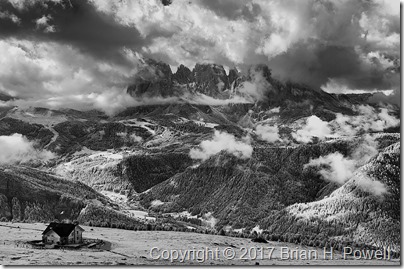
On my way up, I took this infrared photo of the Resciesa hut in the lower left, with the Langkofel Group of mountains in the distance.  There are still plenty of clouds around, but at least we could see for miles around.
_DSC6283

Click any image to enlarge.
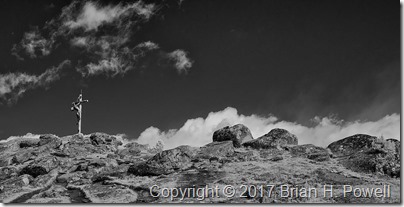
It’s pretty common for hikable mountains in this area to have wooden crosses at their summits.  Here’s an infrared view of the cross above the Resciesa hut.

_DSC6288

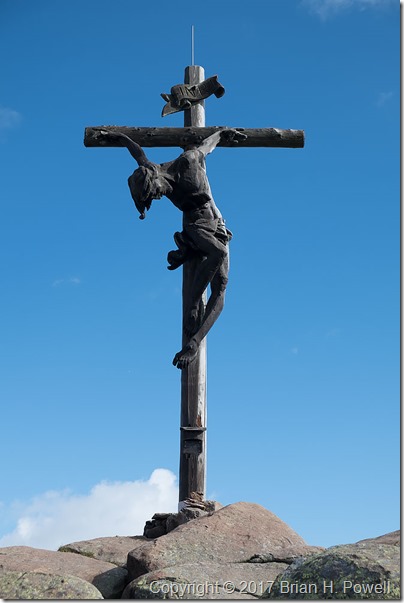
And a closer look from my regular camera:

_DSF0848

I turned around the other way, and took this panorama.  The Resciesa hut is on the far left of the photo, and the chapel is to the right of the sign near the middle.

_DSF0849

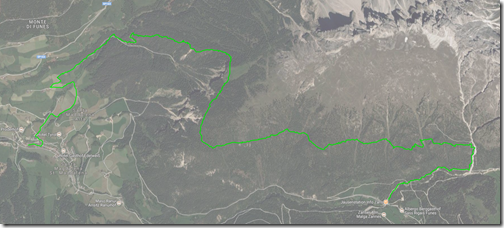
In the late morning, we left the hut and started a traverse eastward.  The plan was to get a better perspective on the Geislergruppe, also to our east.  We would then take a trail down to the middle station of aerial gondolas ascending up to the Seceda ski area.  We could then take the gondola down to Ortisei, where we left the day before.

LeavingResciesa1

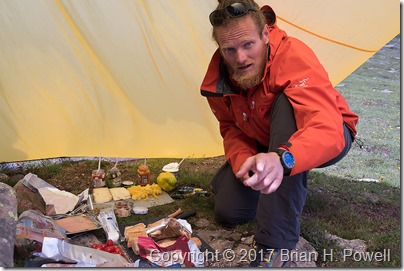
A typical lunch for us was a lunch sack prepared by our guide containing snacks and an always-excellent sandwich prepared that morning from local cheeses, meats, and vegetables.  On this day, it was more of a “build-your-own” affair.  Here’s a photo of our guide, Hayden, with the lunch preparations spread out under his tarp.

_DSF1196

We had lunch near one of the peaks above the funicular station.  We spent quite a bit of time there making time lapse videos.  Here’s an infrared time lapse of the Geislergruppe, to our east.

I would love to tell you that the rest of our day was uneventful.  But it was not to be.

The weather turned again.  Soon after we left our lunch spot, it looked like we might have a brief shower.  We put our rain covers over our packs, and donned our rain jackets.  Most of us had rain pants with us, but none of us felt like it was going to be necessary to put them on.  We were wrong.

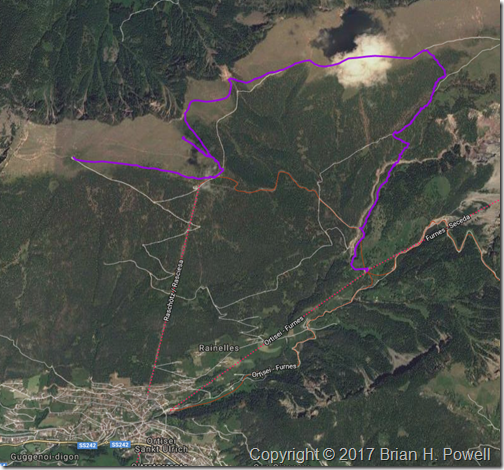
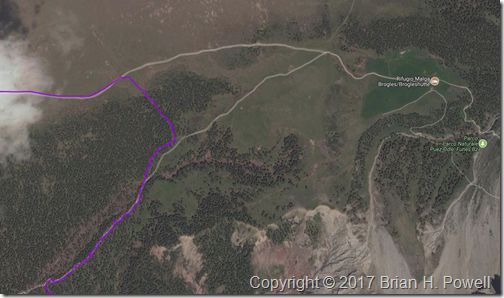
The sleet started first.  Some called it hail.  The temperatures dropped to around 40 degrees Fahrenheit.  Then rain mixed in.  And then thunder.  If it weren’t for the thunder, we might have stopped to put on our rain pants.  On the map below, our travel route enters from the upper left, and we headed due east.  We were originally aiming for the intersection of trails just right of center.  With the rain, we debated going on to the Rifugio Malga Brogles a bit further on the trail to wait out the rain and sleet.  But it was the thunder that convinced us that it was time to exit the mountain as quickly as possible.

We went off trail, heading down an embankment to take us down below tree line to pick up the return trail.  It was steep and slippery, but it was the fastest way out of danger from possible lightning.  Once we got to the return trail, the hike finally met its promise of being uneventful, except for the part about being soaked.  The thunder stopped; the rain abated.  The temperatures rose as we descended.

LeavingResciesa2

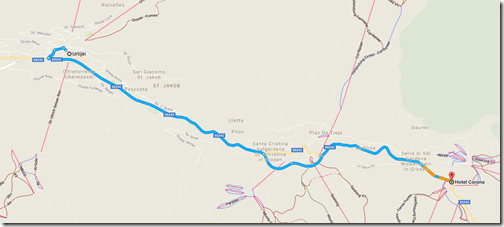
We made it to the cable car and descended to Ortisei to catch the bus to continue our journey.  We stayed overnight that night in Selva (known in German as Wolkenstein).

ToSelva

Coming up, a visit to Lago di Dobbiaco, and on to the highlight of the trip, Tres Cime.

Hiking in the Dolomites, Part 3

The next day, we took the bus to the end of the road, and went for an approximately 7-mile hike near Santa Magdalena at around 2000 meters elevation.  Here’s the trail we took, hiking from east to west:

FirstHike

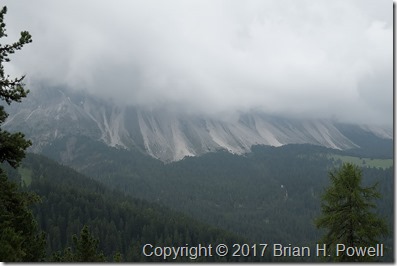
As I mentioned in my last post, the weather turned overcast with a low ceiling, and a nearly constant threat of rain.  The good news is that it didn’t actually rain much—a couple of passing showers that lasted only minutes.  The bad news is that we had to imagine what the scenery looked like:

_DSF0301

(Click on any image to enlarge.)

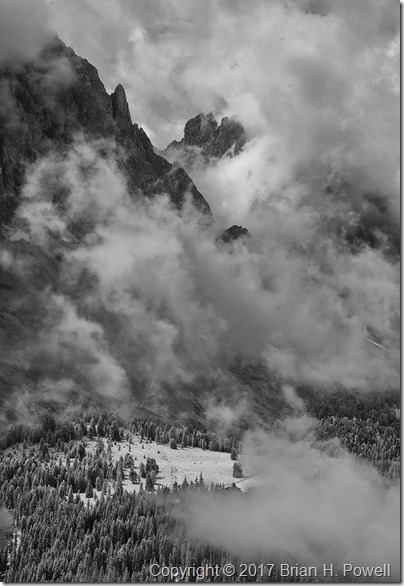
Once again, I turned to my infrared Nikon D300 to find elements of drama in the larger scene.  On this trip, I used the versatile Nikkor 18-200mm f/3.5-5.6 lens for all of my infrared photos.  This shot is using a focal length of 65mm (35mm equivalent of 100mm) at f/5.

_DSC6193

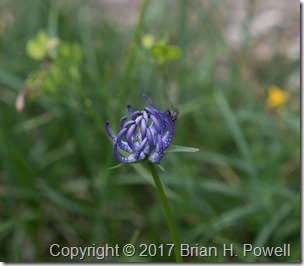
Another approach to photographing with uncooperative weather is to focus on details, such as this flower.

_DSF0300

I believe this is a Phyteuma orbiculare.
Common name: Round-headed Rampion

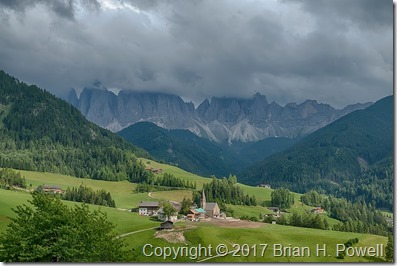
The weather improved marginally as we neared the end of our hike, descending to Santa Magdalena to catch the bus back to the hotel.  The mountains were still in the clouds, but we could at least appreciate more of the scenery.

_DSF0381_HDR

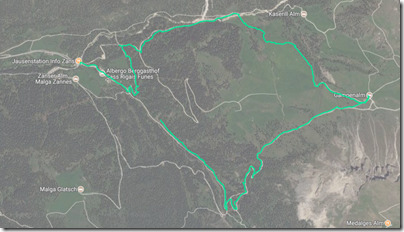
The next day, we hiked again for about five miles in the same area, heading more east:

SecondHike

The weather was slightly improved from the day before—the ceiling had lifted ever so slightly, and we saw some blue sky as the day progressed.

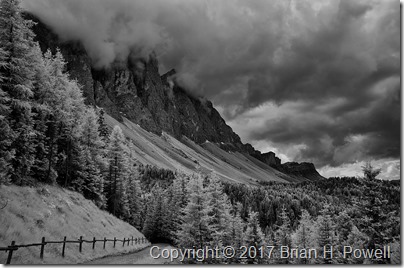
Here’s my favorite infrared photo from the day, with the brooding clouds hanging just at the top of the peaks.

_DSC6236

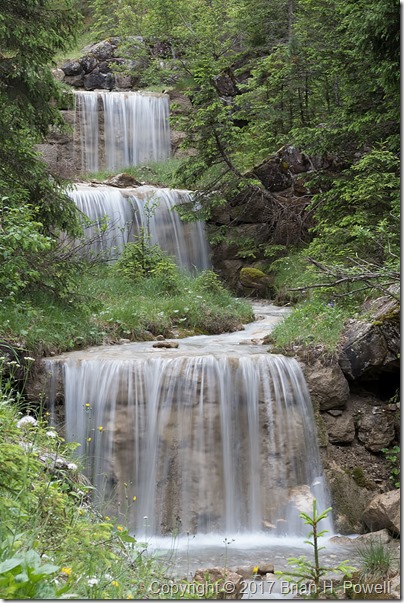
As long as the sky was cloudy, we could switch our focus to scenes that don’t include it.  I photographed these waterfalls with a 1/3 second exposure at f/22.

_DSF0603

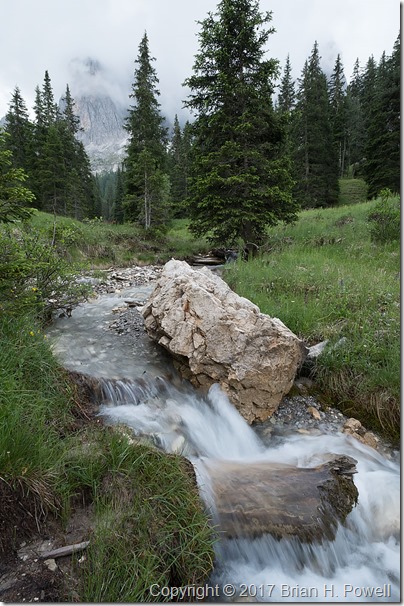
The photo below is a 1/10 second exposure, also at f/22.

_DSF0640

If you haven’t figured it out by now, one of the themes of this week was to find different ways to photograph something interesting while having challenging weather conditions.  This led us to time-lapse photography.

Here’s a very short video of sixty time-lapse frames.  Each frame was taken 3 seconds apart, and the video below speeds it up by 36x.  I’ll have a few more examples like this in later blog posts.

Next up, an afternoon in Ortisei, on our way up to our first mountain hut, the Rifugio Resciesa.

Hunt’s Mesa, and back to Monument Valley for a Lunar Eclipse

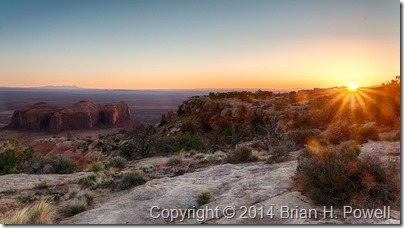
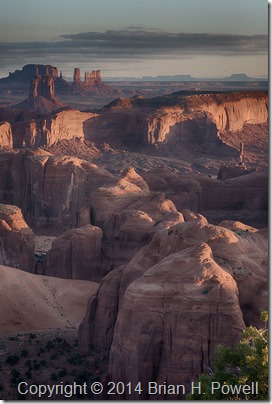
Monday morning, we awoke at 5:30 AM to subdued winds and temperatures in the high 30’s.  It wasn’t calm, but it was less windy than the evening before.  The sky was almost clear.  We drove about 2/3 of a mile east of our campsite for a good view.

_DSC8361_HDR

(Click to enlarge.)

The image above and the next image are (lightly processed) HDR images, where I combined a couple of different exposures to get a little more highlight and shadow detail.  In the image below, you can see the formation called the Totem Pole on the right center of the frame.  It’s about 420 feet tall.

_DSC8470_HDR

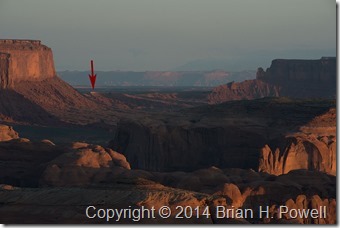
In the next image below, I’ve highlighted the view back towards The View hotel.  This was taken with my Nikkor 80-200 f/2.8 lens at 200mm.

_DSC8427

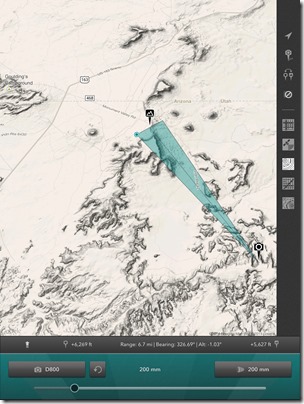
Here’s the shot in Photo Transit, which says that the hotel is about 6.7 miles away, with Utah in the distance beyond.

IMG_0232

As the sun rose higher in the sky, we packed up our photo gear and drove back to our campsite for breakfast, then packed up the camp for the long drive back to Monument Valley.  We enjoyed hot showers and a nap when we got back to the hotel.

Early Tuesday morning was another event we were looking forward to: a full lunar eclipse.  I thought about going out late to do some light painting, but couldn’t really scout out a good location for it.  (I learned light painting technique from Michael Frye in Yosemite.  He wrote a blog post about his eclipse photography.)  I ended up staying at my hotel and shooting from the balcony.

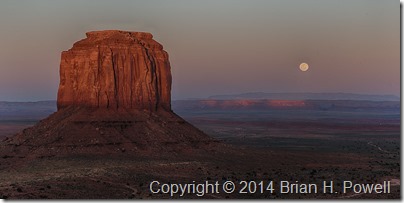
First, a shot of the full moon rising beyond Merrick Butte.

_DSC8628_HDR

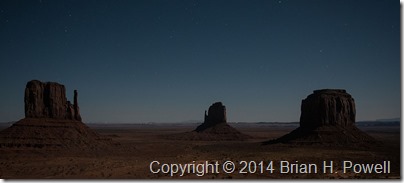
I also tried a 10-second exposure at ISO 6400 to try to capture the Mittens with the stars.  There’s a little too much light pollution for this to be effective.

_DSC8648

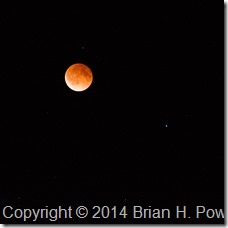
I didn’t bring my big lens on this trip; the longest I had was a 200mm.  Still, I did manage to capture this image of the “blood moon” during the eclipse.  Mars is to the lower right of the moon.

_DSC8782

The landscape lost light as more of the moon was obscured, so I decided to try to capture a video of the stars in motion.  Each of these images was a 5-second exposure at ISO 6400, and they were made about 20 seconds apart.  For best viewing, watch it on YouTube in full screen with the highest (1080p) resolution.

Stars

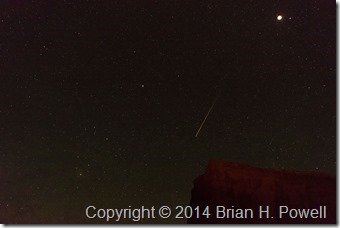
I have to admit I just started the intervalometer with the camera on a tripod and went back to bed for a while.  In the video, you’ll notice a couple of airplanes fly by.  I was lucky enough to have a meteor show up in one of the frames, seen below.

_DSC8723

The next day, we traveled to Canyon de Chelly.  More on that in the next blog post.

Summer Trip Day Two, Yosemite

upper_yosemite_falls

I drove down to Yosemite today—my first time visiting this park.

I like to get to know a place before I try to get serious with my photography. I spent some time at Tuolomne Meadows, and some time in Yosemite Valley. In the valley, I took some of the iconic shots that you’ve seen from other photographers. Of course, as I mentioned in my earlier post, if it’s in Yosemite Valley, somebody’s taken the photo before.

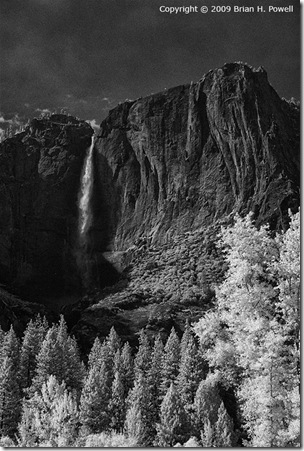
I am doing something a little different—I brought my Infrared Nikon D200, and trying a few infrared shots. The image above is an infrared shot of Upper Yosemite Falls in afternoon light, converted to black and white with Nik Software’s Silver Efex Pro.

I also brought along my video camera. I’m not good at video yet, but I’m working on it.

Tomorrow is another day in Yosemite.